Build an Astro blog with AI in under 5 minutes
A step-by-step tutorial to scaffold, customize, and deploy a working Astro blog with AI in under five minutes — from npx to a live Vercel URL.
You can have a working, styled, deployable Astro blog in less time than it takes to read the README of most starter templates. This tutorial gets you from an empty terminal to a live blog on Vercel in four steps, using astro-ignite to scaffold the project and seed the content.
If you’ve never touched Astro before, that’s fine — you won’t be writing any framework-specific code in this guide.
What you’ll build
A personal blog with:
- A working
/blogroute powered by Astro content collections and MDX - A clean layout with a light/dark mode toggle
- An RSS feed, sitemap, and OG image
- i18n parallel routes ready to translate when you add a second language
- Deployed to Vercel on a real URL
Prerequisites
- Node.js 20 or newer. Check with
node -v. - A package manager.
pnpm,npm,yarn, orbun— the CLI detects what’s installed. - A Vercel account. The free tier is enough.
That’s it. No API keys, no third-party setup.
Step 1 — Scaffold the project
In a new terminal, run:
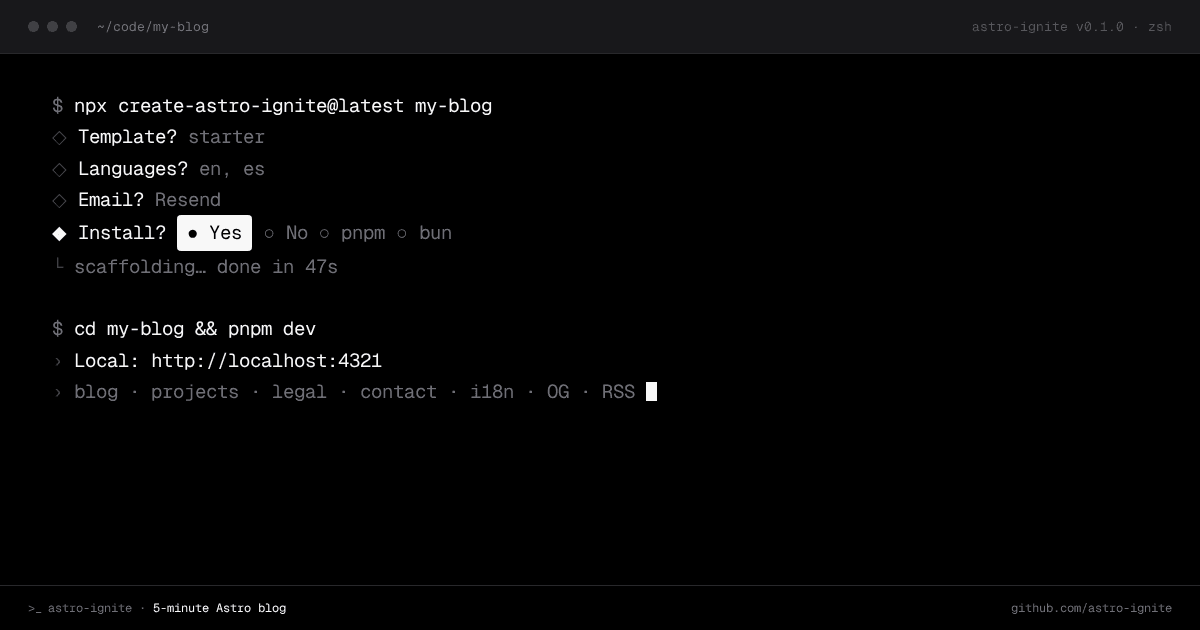
npx create-astro-ignite@latest my-blogThe CLI will ask four questions:
- Project name — defaults to the folder you passed in.
- Package manager — auto-detected; press enter to accept.
- Install dependencies now? — yes (saves a step).
- Template — pick
starterfor a marketing site with blog + projects, ordocsfor a documentation-style site. For this tutorial, pickstarter.
When it’s done, cd into the project and start the dev server:
cd my-blog
pnpm dev
Open http://localhost:4321. You should see a fully styled landing page with a working blog, draft posts, a dark-mode toggle, and a cookie banner — not a “hello world” placeholder.
Step 2 — Inspect what was scaffolded
Before customizing anything, look at what’s there. The interesting files:
my-blog/
├── src/
│   ├── config/
│   │   └── site.ts                  # Site-wide config: name, locales, social, OG
│   ├── content/
│   │   ├── blog/{locale}/...        # Markdown / MDX posts per language
│   │   ├── authors/                 # Author profiles (referenced by posts)
│   │   └── legal/{locale}/...       # Privacy, terms, cookies templates
│   ├── content.config.ts            # Zod schemas for every collection
│   ├── components/ui/               # shadcn-style atoms — yours to edit
│   ├── layouts/
│   │   ├── BaseLayout.astro         # Universal chrome + SEO + JSON-LD
│   │   └── ArticleLayout.astro      # Blog post layout with breadcrumbs
│   └── pages/
│       ├── blog/[...slug].astro
│       └── [lang]/blog/[...slug].astro
└── astro.config.mjs
Two files to read first:
src/content.config.ts— defines the schema for every collection. Theblogschema requirestitle,description,datePublished,author,heroImage, and a list of tags. Type-checked at build time, so a missing field fails the build, not production.src/config/site.ts— your site identity. Edit your domain, locale list, social URLs, and default OG image here, and the changes cascade through SEO, JSON-LD, sitemap, RSS, and the manifest.
Step 3 — Customize
Two small edits make the blog yours.
Change site identity
Open src/config/site.ts and update at minimum:
export const siteConfig: SiteConfig = {
  url: 'https://your-domain.com',
  name: { en: 'Field Notes' },
  description: { en: 'Climbing trips, bouldering problems, and gear that survived.' },
  // ...
};
The site name flows into <title> tags, the manifest, JSON-LD Organization, and OG metadata automatically.
Add a real post
Create src/content/blog/en/first-crag.mdx:
---
title: "Why I switched to wide-fit climbing shoes"
description: "After six months in narrow shoes, my feet had opinions about every route."
datePublished: 2026-05-14
author: jordi
heroImage: ../_assets/hero-welcome.svg
heroImageAlt: "Placeholder hero — replace with a photo of climbing shoes on rock."
tags: [climbing, gear]
---

The first thing I noticed was the swelling…
Save the file and the dev server picks it up. The post appears at /blog/first-crag, with the breadcrumb, JSON-LD, OG image, and reading-time meta strip all generated automatically.
Step 4 — Deploy
The starter template ships with the Cloudflare adapter by default, but Vercel works too — swap the adapter in astro.config.mjs:
pnpm add @astrojs/vercelUpdate the config:
import vercel from '@astrojs/vercel';
export default defineConfig({
  // ...
  adapter: vercel(),
});
Then deploy with the Vercel CLI:
npm i -g vercel
vercel
About a minute later you have a live URL like https://my-blog-xyz.vercel.app. Connect a custom domain in the Vercel dashboard when you’re ready.
What’s next
A few directions from here:
- Add more posts. Drop MDX files into
src/content/blog/en/and they appear automatically. - Add a second locale. Add
'es'tositeConfig.locales, createsrc/content/blog/es/, and the i18n parallel routes activate without further wiring. - Edit the registry. The component atoms in
src/components/ui/are Astro + vanilla JS — no framework dependency. Edit, delete, replace. - Compare options. If you’re still deciding which CLI fits, the create-astro vs astro-ignite comparison covers both in depth.
- Browse the alternatives. The best Astro starter templates in 2026 lists ten forkable themes for when a CLI isn’t the right fit.
That’s a real blog on a real URL in under five minutes. If you found astro-ignite useful, star it on GitHub — that’s the project’s primary signal.